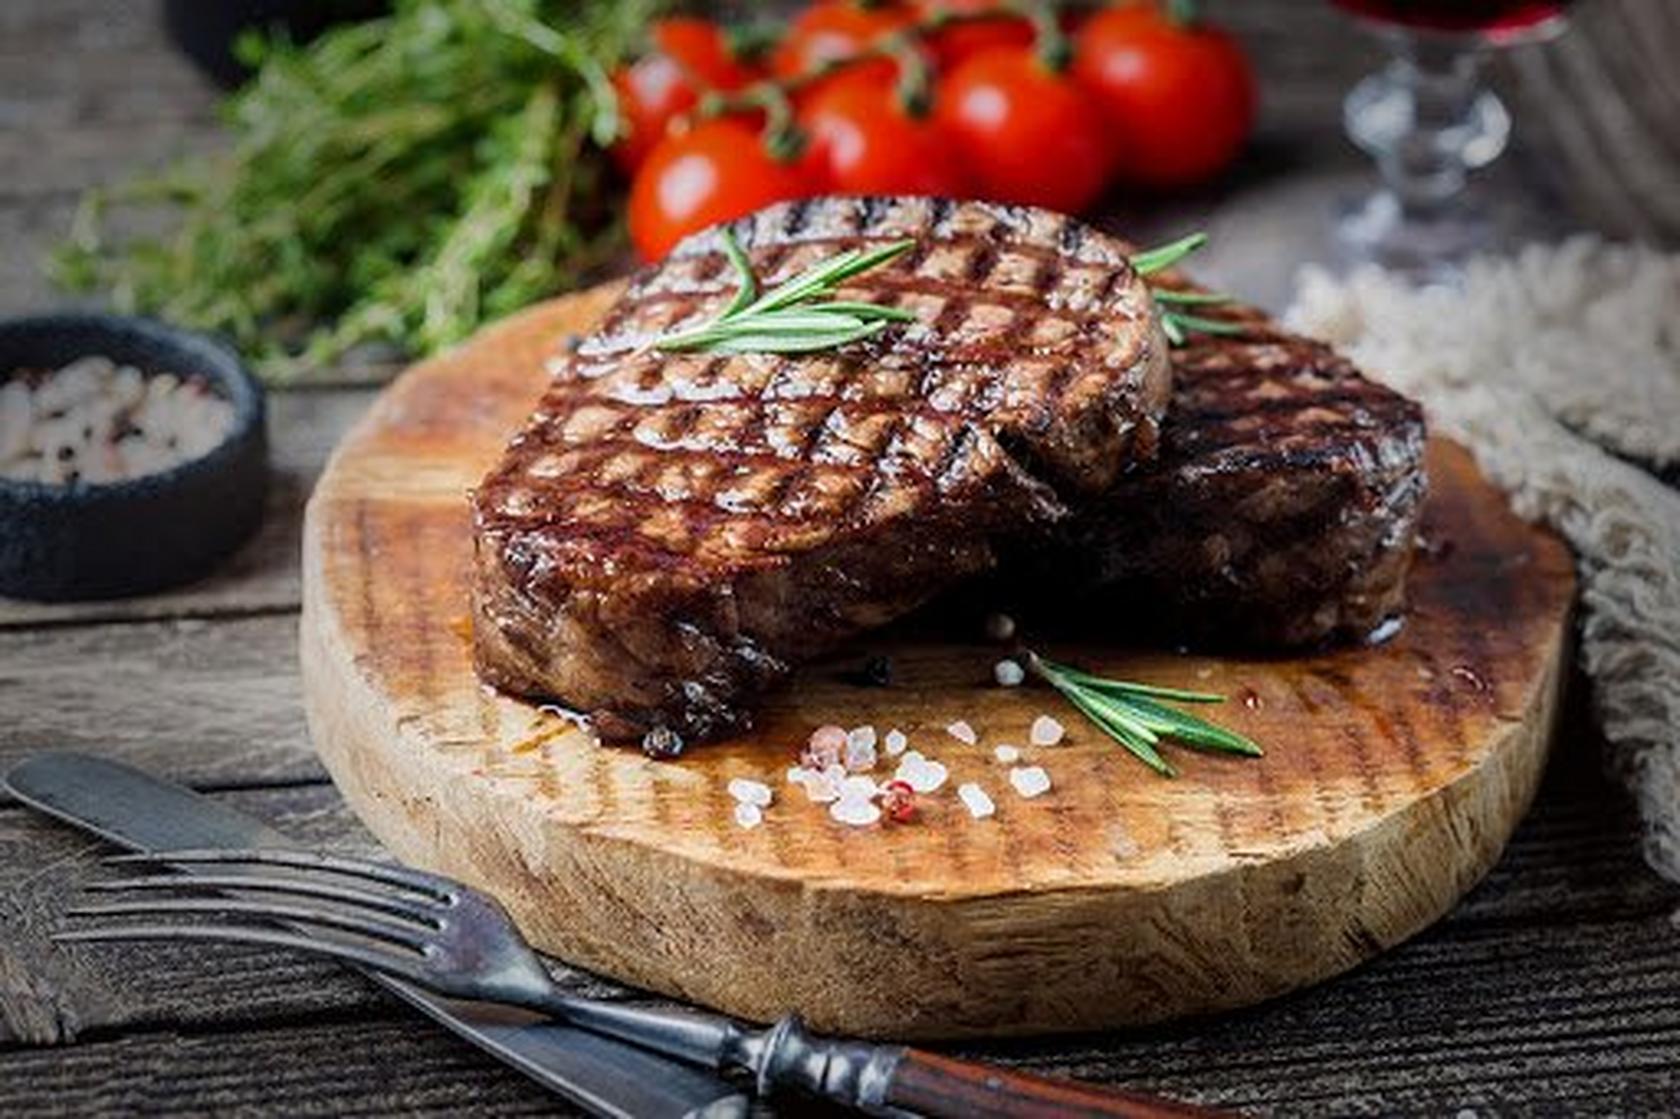
The greatest home cooks know how to make their mark on signature dishes, and when it comes to meats, nothing says mastery quite like a nice sear. If you’ve heard that a Traeger can’t sear, we beg to differ.
A sear is to mark, brand, or char a surface with extreme heat. Searing seals in natural flavors and creates a new flavor combination where it sears. When protein and sugars heat above 350°F, meat browns and caramelizes, which improves the flavor. The flavor is what makes people want to lick their plates.
How Searing Works on a Traeger Wood Pellet Grill
For the best results, use a Traeger pellet grill. You get beautiful marks from searing on a grill and you also get a different flavor and texture than when you sear any other way.
Inside the Traeger wood-fired oven, the convection fan speeds up the cooking process by 20%. By placing the meat directly on a hot grate, the protein begins to warm and the cold of the meat reflects cold back to the grill grate, which slows down the heating process of the parts that are not directly touching the grate. This is how the area of the meat that is touching the grate has the Maillard reaction or browns, and forms seared grill marks on the protein.
Searing occurs in the area of meat that touches the hot grate. This area cooks faster and hotter than the circulating convection heat cooks the rest of the meat.

Here's how to get the very best sear:
Preparing Your Meat for Searing
For larger cuts of meat like a tenderloin, the first order of business is trimming what’s known as the “silver skin” or excess fat from your meat.
Next, you want to get the surface as dry as possible. In a pinch, you can blot it dry with a paper towel but for steaks, it’s best to leave it uncovered in the fridge overnight.
Another method is salting the meat. If you go this route, you should let it sit for at least an hour or moisture will get in the way. Salt will draw moisture to the surface.
To Oil? Or Not to Oil?
Some use oil for flavor. Others use it for even cooking. In any case, don’t go overboard for fear of the meat sticking. It’s not uncommon for meat to stick to the grill grates at first, but it has less to do with how much oil you’re using and everything to do with giving the Maillard reaction time to kick in.
You just want to wait for the proteins to harden. Once they do, the meat will flip easily and you’ll see a nice sear. All your hard patience pays off -- just don’t wait too long or your meat will dry out! Keep reading for specific instructions.
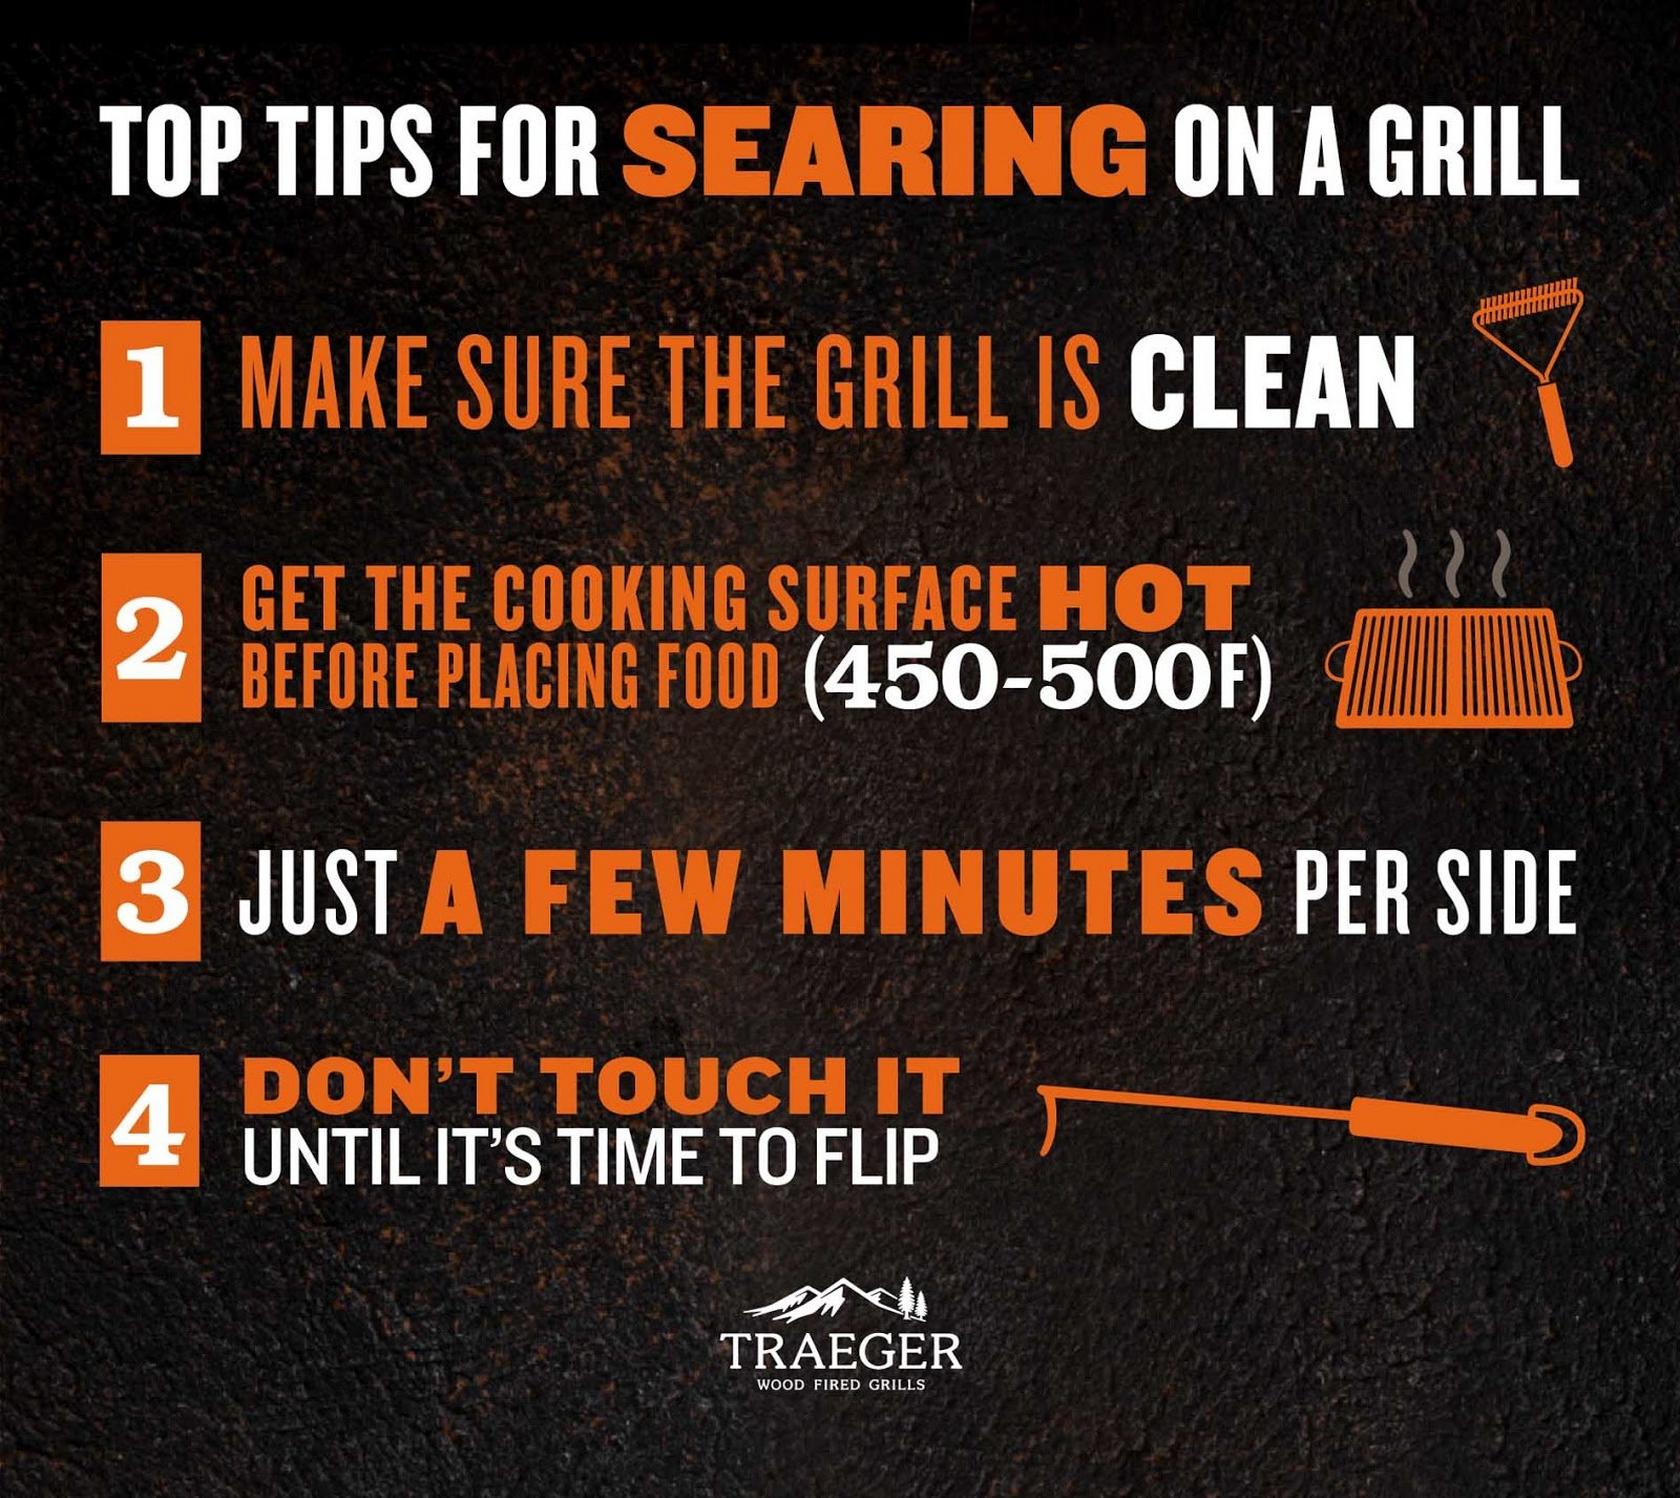
Top Tips For Searing on a Grill
Make sure the grill is clean. If you’re cooking on a dirty grill, food will stick to it no matter what you do. If it looks like a tough job, an all-natural grill cleaner can help. Then you can use vegetable oil to season the grates.
- Invest in cast iron grill grates for even hotter grates.
- Get the cooking surface hot. 450°F or higher. Once you’re preheated, you’re ready to go.
- Gently lay the meat on the grates. Searing time varies depending on the type and cut of meat but generally, you’ll want to sear for just 3-5 uninterrupted minutes per side.
- Don’t touch it until it’s time to flip. If you poke and prod at it, you could release juices prematurely which will ruin your sear. Use tongs, a spatula, or our pig tail BBQ flipper to flip.
How To Sear Your Favorite Foods
From steaks to seafood to veggies, here are tips for getting a nice sear every time.

What Temperature Do You Sear On?
Preheat your grill to 500°F before you place the meat on the grill.
How to Sear a Steak
A perfectly seared steak is medium-rare, cooked at approximately 3.5 minutes per side. You don’t have to worry about oiling a well-marbled steak -- high heat takes care of the non-stick concerns. Keep in mind that the thicker the steak, the more flavorful the meat.
Check out our guide on how to cook a steak depending on the cut.

How to Sear Burgers
Set your grill to high heat, and throw that burger on. It will sear as it cooks. The trick is in the preparation — buy an 80-to-20 ratio of meat to fat, and when you’re forming your patties, make a slight indent in the center with your thumb. This will help the burger take the right shape.
Don’t squash it! Those who succumb to the temptation of squashing their burger might think they’re helping along the searing process, but they’re actually pushing out juices, and flavor. This can slow down the process and dry out the burger. Check out our complete guide on how to prepare a burger.
How to Sear Chicken Breasts or Thighs
Leave the skin on if you can. Put a thin coat of oil on both sides. Cook skin side down first for 3 or 4 minutes on each side. Once you get the skin crisp, you can flip and continue to cook with the skin side up.
How to Sear Sausages
Cut the sausages lengthwise in half. Score the rounded sides of the sausage and place the flat side down on the grill. To make flipping easier, lay them on an angle across the grills and give them a little nudge to roll over. Raw brats and Italian sausages may take around 3 to 5 minutes to sear properly. Kielbasa and pre-smoked sausages only need 1 to 3 minutes per side.
How to Sear Pork Chops
Trim the outer layer of fat. This will help the meat stay flat as the proteins tighten up, and keep the juices inside the meat. For thin-cut chops, sear for 1 minute per side until the internal temperature reaches 180°F.
How to Sear Ribs
Preheat the grill to at least 450°F. Take your cooked ribs out and pat away any excess moisture. Lay the cooked ribs flat over the heat. You're going for an appetizing brown coloring on each side, which can take 10-15 minutes. If you're saucing your ribs, do so in the last five minutes of cooking.
How to Sear Scallops
Some scallops are sold with a tough abductor muscle attached. If yours has one, remove it. Pat the scallop dry with a paper towel. Gently coat with butter or oil and seasonings, and then start with the flattest side first. Close the lid and cook for 1 minute. Use a pair of tongs to gently roll the scallops to their other side. If they’re sticking to the grate, they need a little more time to cook. Cook for an additional minute on the other side.
Scallops really only need to be seared, since they are so delicate. The process of searing should get the scallops to about 130°F, which will give you a tender bite and milky-white skin.
How to Sear Tuna
First pat-dry your tuna steaks, and season. Cook for about 2.5 minutes before flipping. The tuna will probably be red in the center, but it is both safe and delicious to eat sushi-grade tuna rare. Crispy on the outside, rare on the inside, tuna (like sea scallops) is a must-sear.
How to Reverse Sear
First, what is reverse sear? This is a technique for those who want the best of both worlds: low and slow smoking meets hot and fast searing. A reverse sear takes meat that’s been smoking at around 225°F and then finishes it off with a nice 500 degree Fahrenheit sear.
It’s called the reverse sear because traditional recipes like a roast often call for an initial sear — searing meat in a frying pan before finishing it off in the oven. This is what helps give stews and roasts a rich, full-bodied flavor.
The traditional sear cooking method is faster, but the advantage of a reverse sear (besides fewer dishes to clean) is that you really get to infuse the inside of the meat with smoky flavor and get the exterior texture and color just right. We highly recommend you reverse sear steak, but we’re also huge fans of reverse sear pork chops. See our reverse searing guide to learn more about this method.
Searing Is a Skill
With these instructions, you're on your way to getting the flavor, texture, and color of a perfect sear every time. Still, the cut of meat, the surface temperature, and the amount of moisture on the surface can change the exact timing.